Giving a Second Life to my Intel MacBook Pro 2020 (A2251) with a Flickering Touch Bar
It appears that a flickering Touch Bar is a common issue with MacBooks. I didn’t record my own Touch Bar while it was flickering, but here is a good example of the problem. It’s no wonder that Apple eventually stopped shipping it.
I initially thought about trading in my laptop while purchasing a new MacBook. I was offered €300 (when I hadn't mentioned the flickering Touch Bar) and €0 (essentially just recycling) once I mentioned the Touch Bar wasn't functioning properly. This felt unreasonable, as I have a solid laptop with great specs: an Intel i7, 32GB of RAM, a 1TB SSD, and a 13-inch Retina display. I couldn't buy a replacement with those specs for €300.
So, I decided to try and fix it myself. My friends warned me that they had tried to clean their own MacBooks in the past and ended up having to take them to a service center, but since I already had a new laptop and had transferred my data, I was willing to take the risk.
I did some research and found a great video tutorial about disconnecting the Touch Bar from a similar model – the MacBook Pro 13-inch M1 (A2338). It looked doable, so I ordered a set of screwdrivers, thin double-sided tape, and Kapton tape (I might have gotten away with regular tape, but I wanted something extra thin specifically designed for electronics) from Amazon. The total cost was around €20.
I don't want to repeat every step from the video, so I’ll only mention the parts that were different for my model or that I felt were worth highlighting.
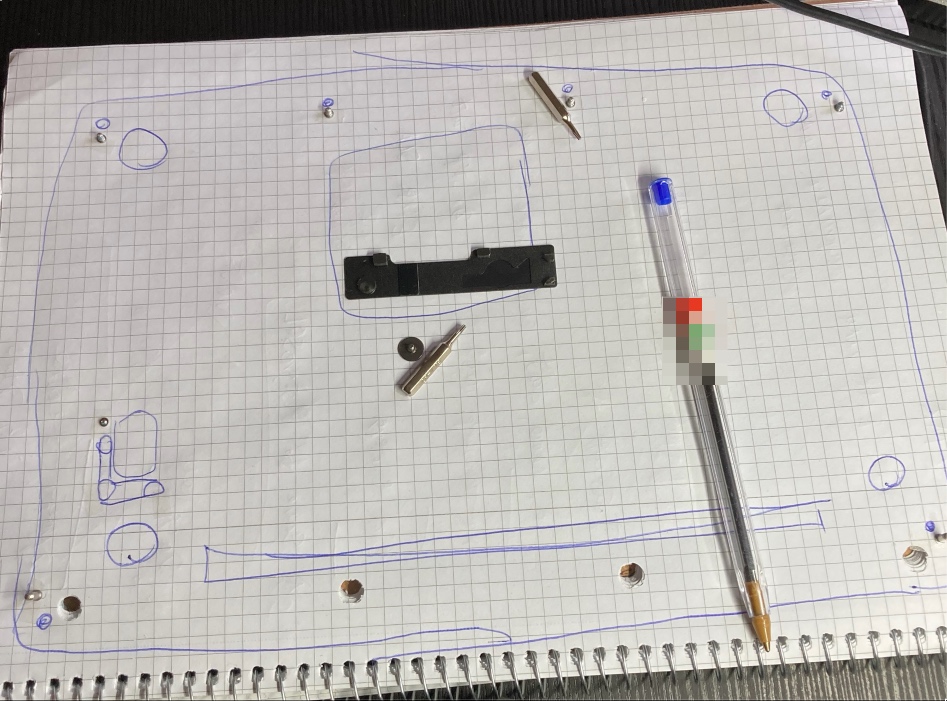
As mentioned in the video, it is a good idea to draw a diagram of the screws on a piece of paper and place each screw on its corresponding spot. To ensure I didn't lose anything, I secured each screw with a bit of double-sided tape, as they are all different lengths.
Removing the lid was straightforward – just follow the instructions in the video.
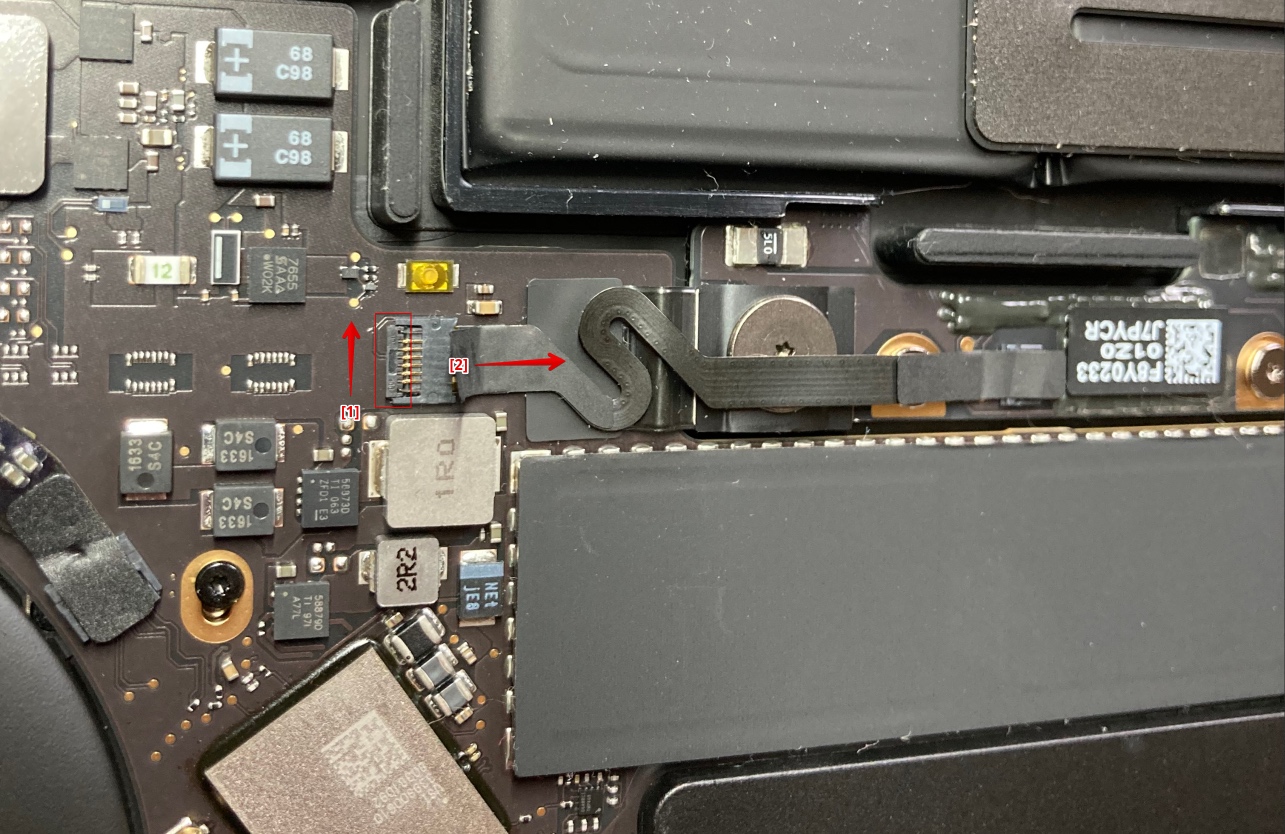
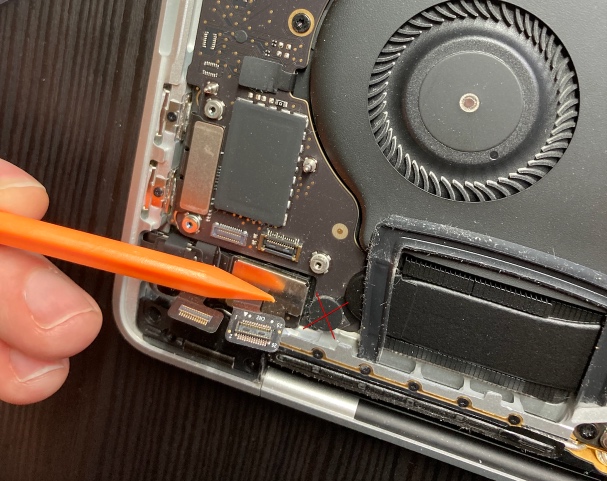
I was initially confused about how to open the latch to disconnect the battery cable, as my model differed slightly from the one in the video. The latch on the edge should be flipped upward [1] (it should click easily), and then the cable can be pulled out to the side [2].
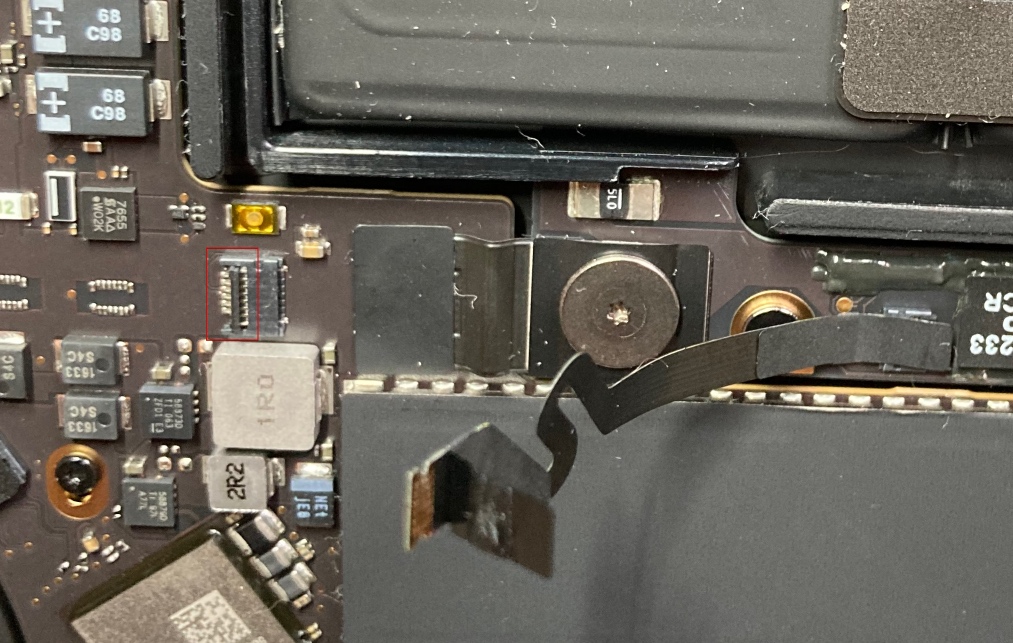
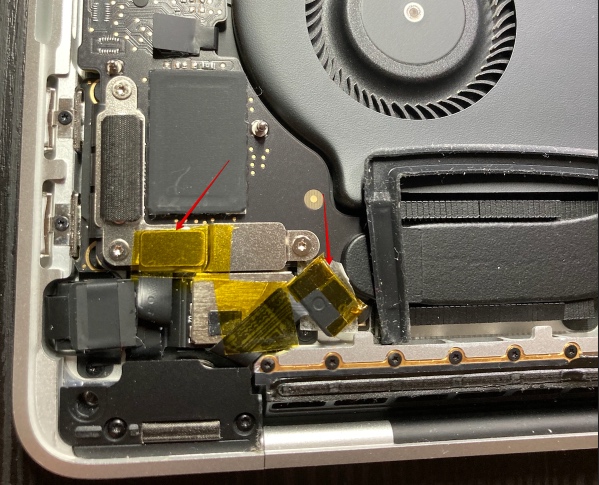
Here is the latch in its open position with the cable disconnected:
After disconnecting the Touch Bar display and its USB-C cables, I taped the display cable to the bracket (as shown in the video) since there was enough space for it. However, I had to remove the screw cover and use double-sided tape in its place to create enough clearance for the USB-C connector.
That’s basically it! I followed the rest of the video instructions, and the reassembly process was quite easy (I also took the opportunity to clean the fans and internals before closing the lid).
One thing to note: the laptop will not start just by pressing the power button the first time. You need to connect a charger and wait a few seconds for it to start.
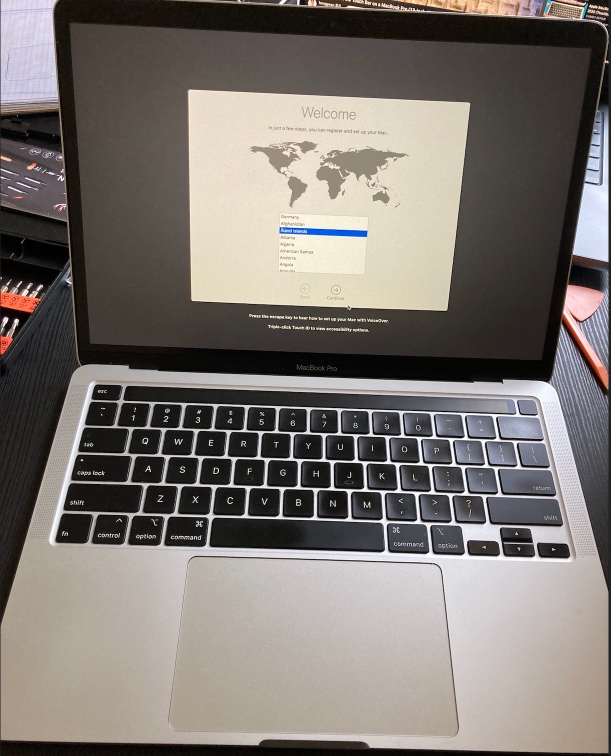
I decided to install macOS Monterey so that the laptop would run as fast as possible (I had to install the factory macOS first, log in to the App Store, and then download Monterey). I might eventually upgrade to Ventura when software I use no longer supports Monterey, but I don't plan to go beyond Ventura. Newer versions of macOS tend to waste resources on background activities, which makes the laptop run warm even when idle.